Changing the driven plate of the clutch Prinz 4
Tools
- Socket wrench 24 mm for nut M18
- A pair of circlip pliers 40-100 (Knipex 4411-J3)
- Remove tool trigger (the clutch from the crankshaft) with ring spanner 22 mm
- Wheel hub trigger with bolt M12x1 x 74
- Allen key 4 mm T-handle
- Centre-tool with tapered shaft
- Ring spanner 8 mm
Materials
- New driven plate
- MOLYKOTE pasta
- Bearing grease for release bolt
- Dust cover
- Bearing 6301 2RS 12 x 37 x 12
- Socket-headed bolt M5 x 30 10K
- Spring washer 5 DIN 127
- Circlip 38 x 1,5 mm DIN 472
Clutch removal from engine from engine nr. 47 21605
Disconnect the battery for safety reason. Remove the operation cable and the release lever. Remove the aluminium blower housing. Remove the circlip 38 x 1,5 and watch out for the spring pressure. Remove the release bolt and other parts. Warning: remove after that the special locking washer from the crankshaft!
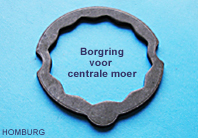
Unscrew the nut (24 mm) from the crankshaft and remove the spring washer. Remove the clutch with the remove tool trigger from the crankshaft. Take care of the half round key in the crankshaft.
Dismantling the clutch
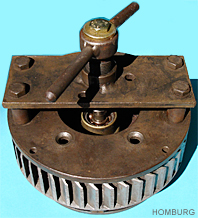
All the parts that are fixed together must be marked near OT before dismantling. Use a centre-punch, do not paint. Use the wheel hub trigger, with bolt M12x1 x 74 and the release bolt bearing-combination to span the diaphragm. See photograph. Assemble the wheel hub trigger and release the diaphragm. Unscrew the 6x M5 bolts and remove the outer ring and locking ring; mark the position of the pressure plate. The driven plate can be lifted out of the clutch. The driven plate friction lining must be renewed. Check the surface of the pressure plate and the driving plate. Grind the pressure plates if necessary.
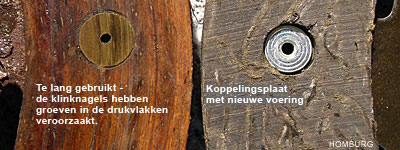 Old and new
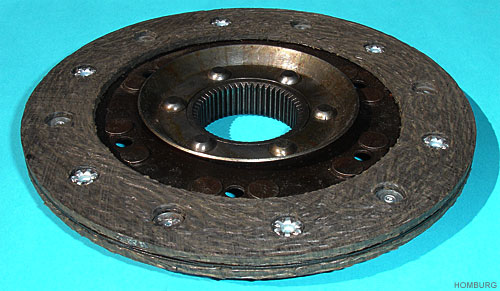
Driving plate new


Release bolt for bearing end adjustment bolt
Reassembly clutch
Reassembly is the reverse procedure. Lubricate all bearing points lightly with Molykote.
Warning: The clutch driven plate must be centralized accurately in the clutch with a tapered tool. When the driven plate is not correct centralized it is absolutely impossible to fit the clutch.
Installation clutch into engine
Watch the half round key in the crankshaft. It has the same position of the OT point.
Remarks
- Remove dust and corrosion
- Check the diaphragm
- Check the splines of the driven plate
- Check the release bolt and bearing
- Check the release lever
Clutch release system
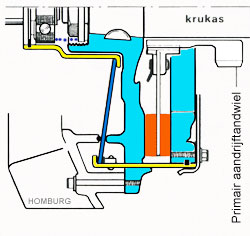
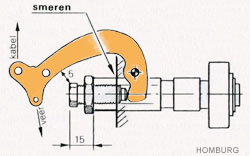
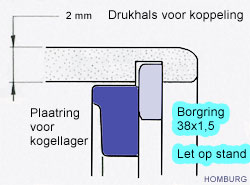
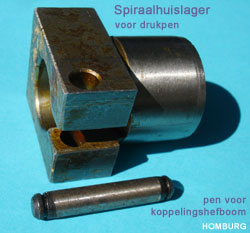
Locking ring position / washer bearing | Bush for release bolt


Return spring and bolt
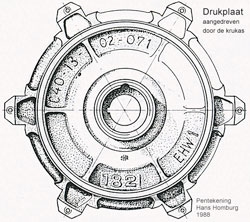
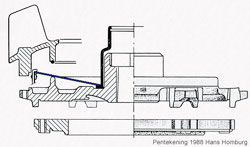
Clutch driving plate and all other components
Clutch parts removal from engine from engine nr. 47 21605
- Disconnect the battery for safety reason
- Remove the operation cable and the release lever
- Remove the blower housing or aluminium clutch cover
- Remove the circlip 38 x 1,5 and watch out for the spring pressure
- Remove the release bolt with the clutch bearing
- Replace the bearing 6301 2RS
Reassemble the parts in reverse order of removing. Lubricate the release bolt inside and out site with grease.
Remarks
Because the clutch is now partly dismantled, it is recomment to dismantle and clean the clutch entirely. Special tools will be needed.
Drawing clutch and parts
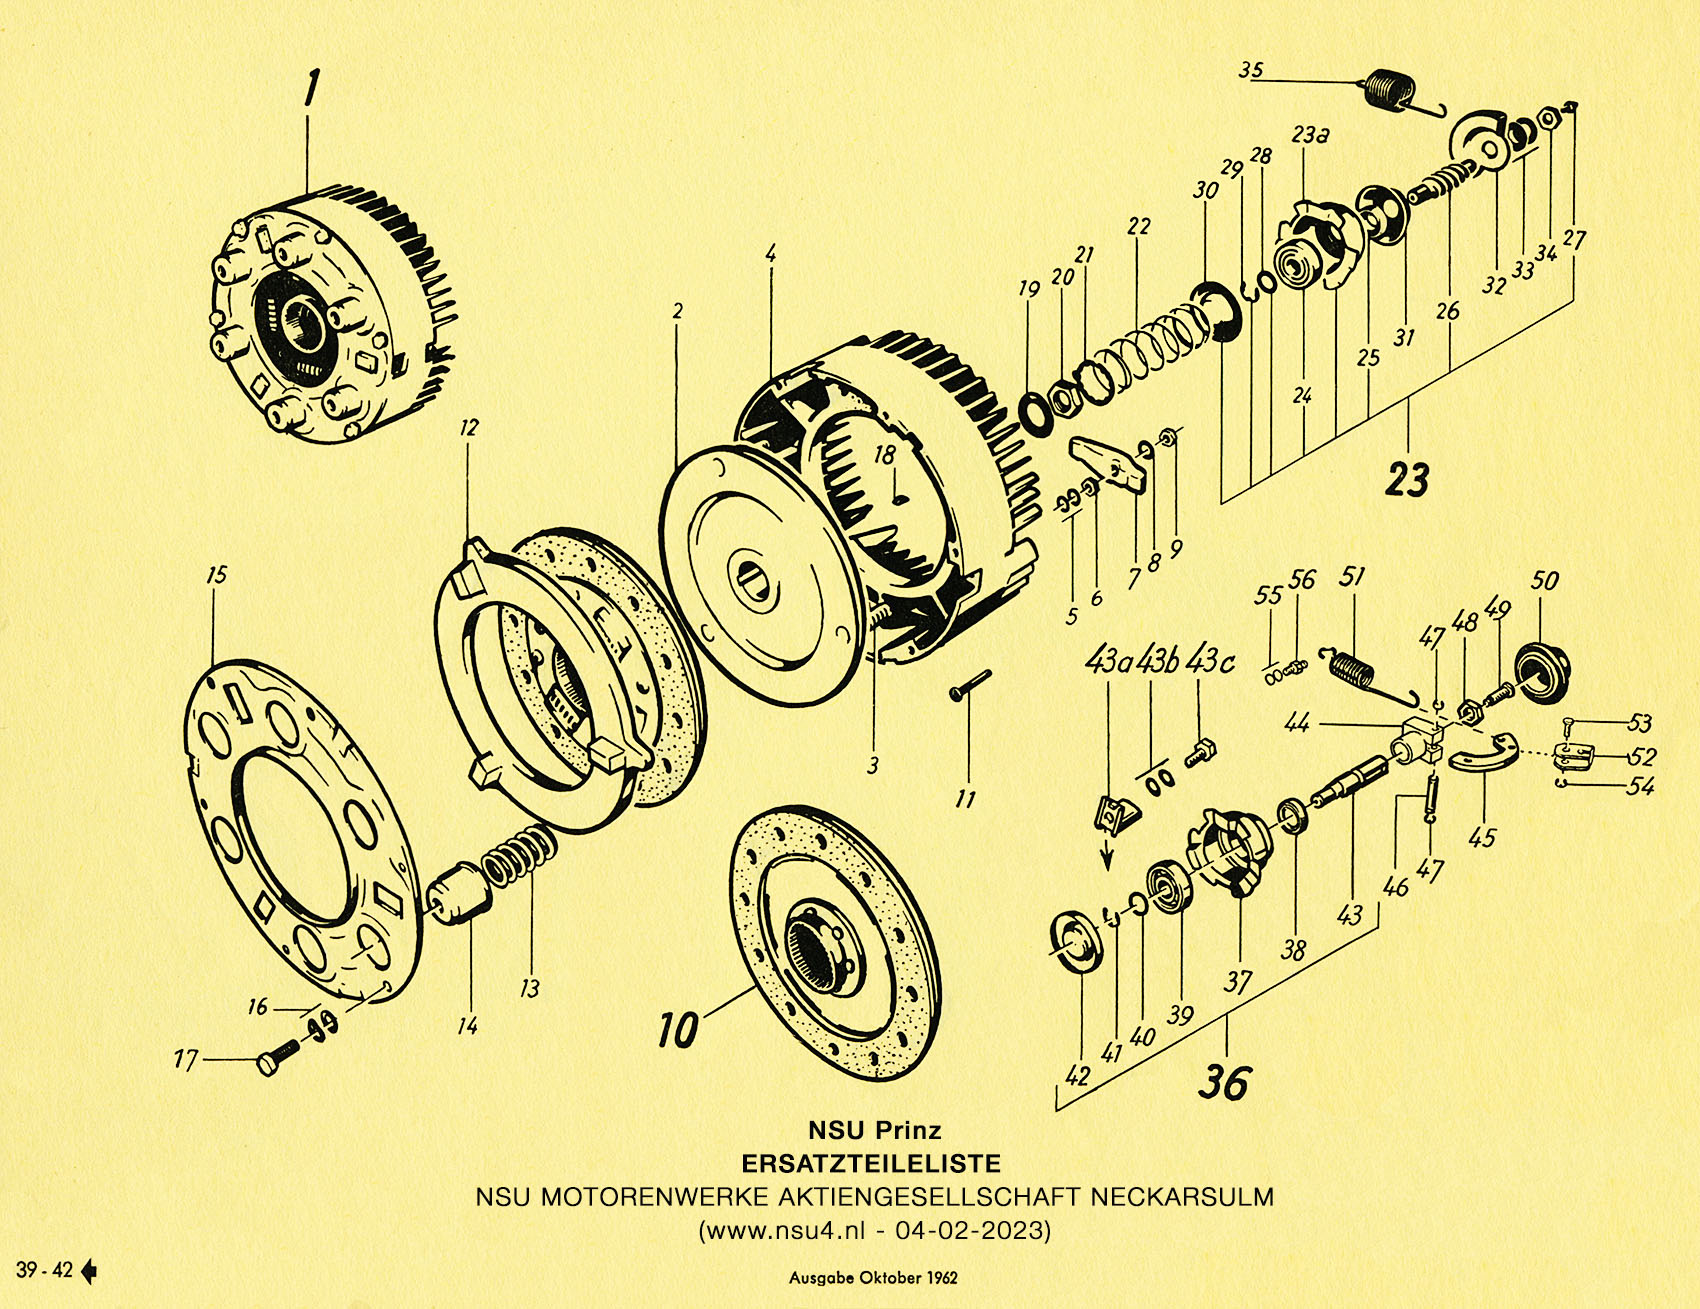
Drawing clutch parts 1e type NSU Prinz III and NSU Prinz 4.

Drawing clutch parts latest type NSU Prinz 4.
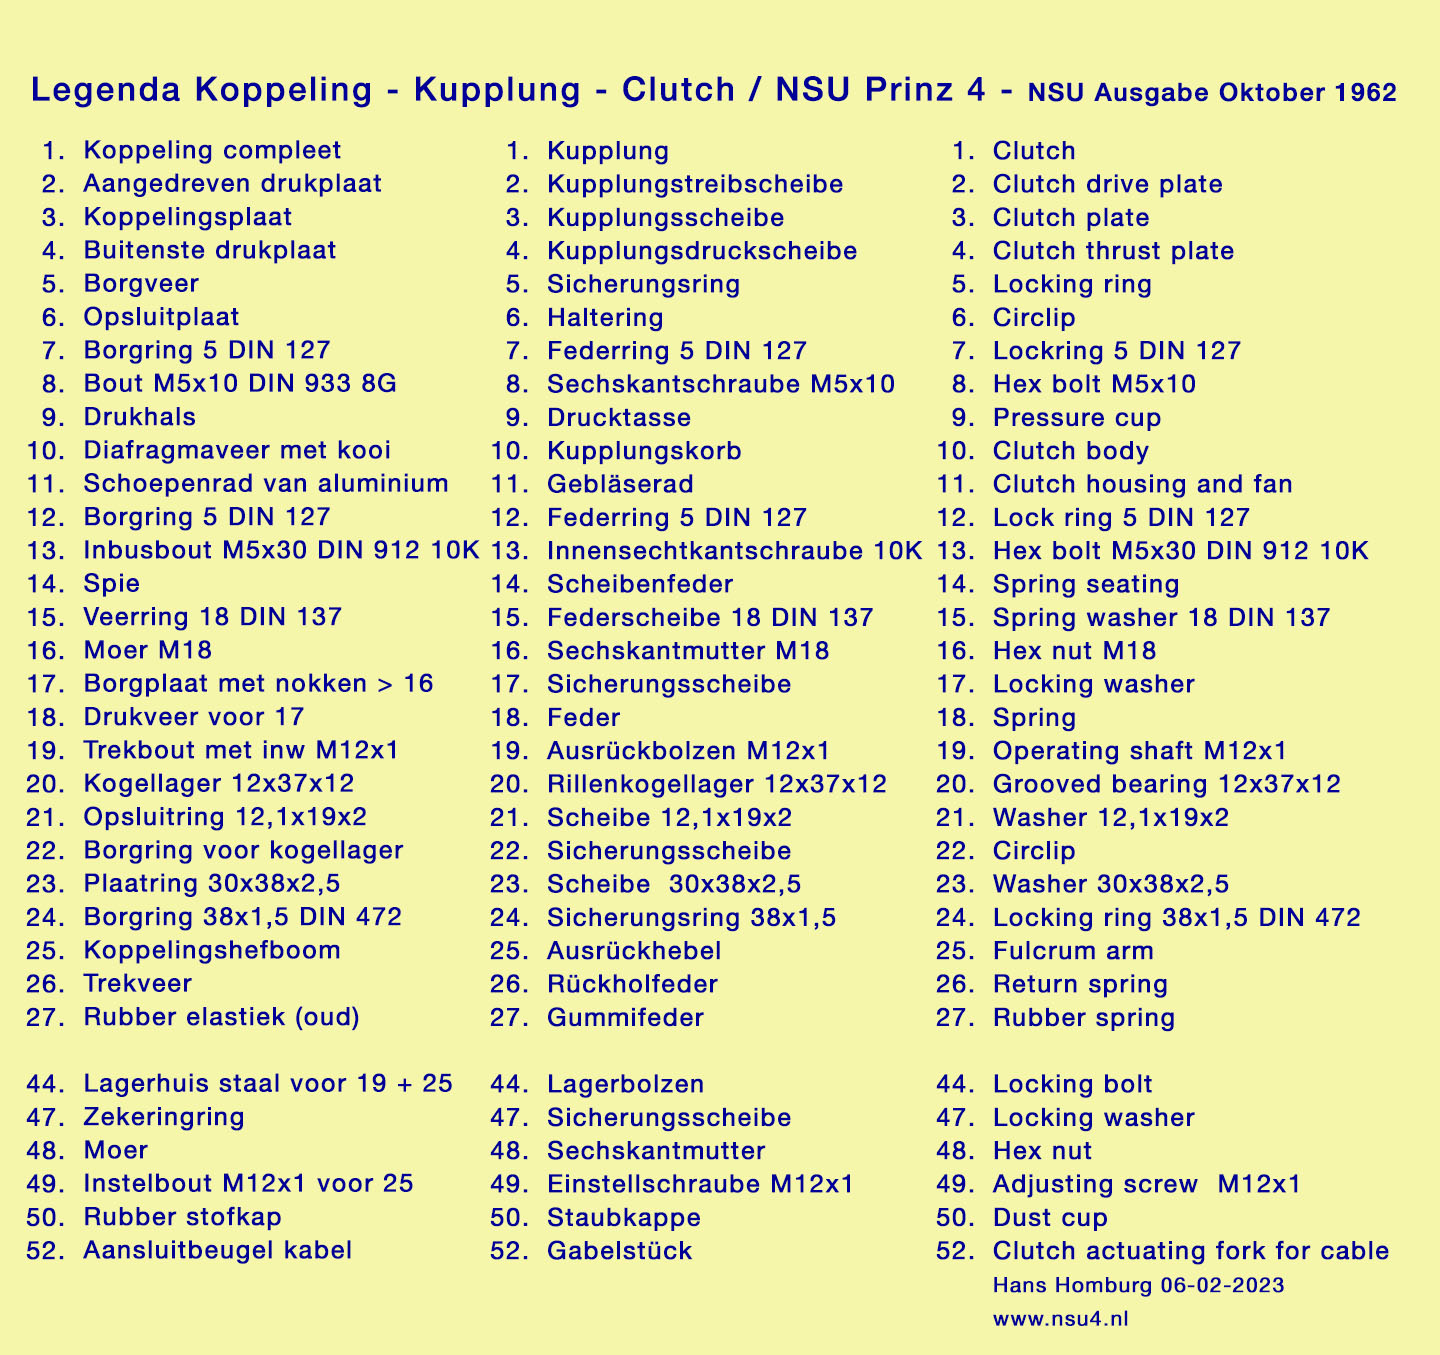
Legenda drawing clutch parts NSU Prinz 4.
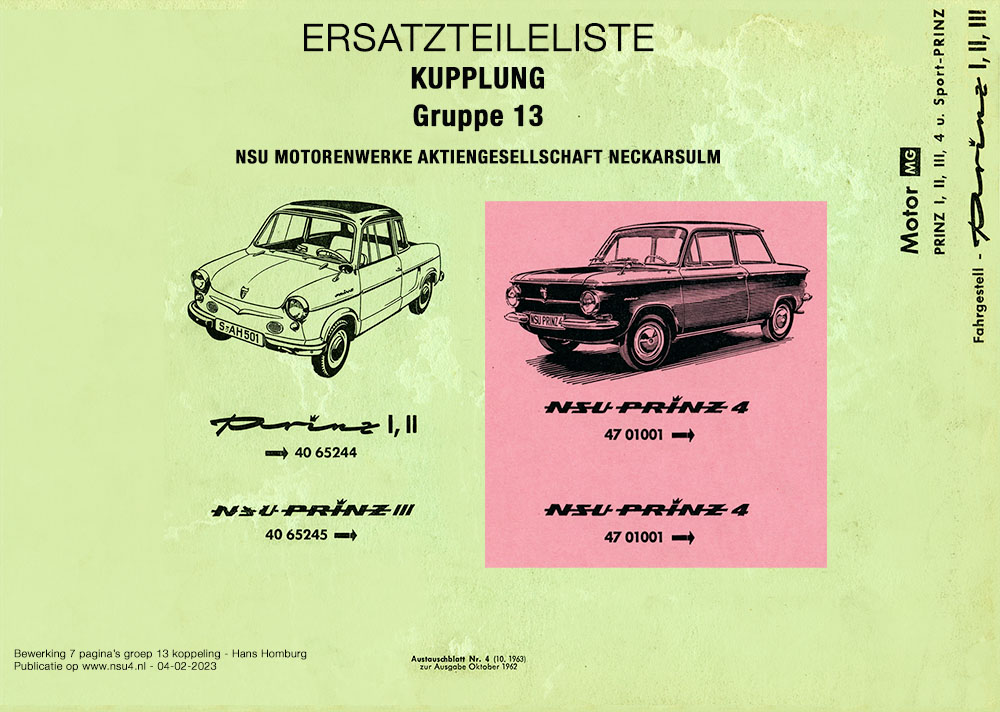 Partslist clutch NSU Prinz III and NSU Prinz 4 original NSU including 2 parts drawing 1962-1963
PDF (4 Mb) 9 pages.
